Posted by Simon Long May 12, 2009
Deploying ESX3.5 using EDA v0.87 inside VMware Workstation 6.5
As a follow-on to my post Deploying ESX3.5 using EDA v0.85 inside VMware Workstation 6.5 i have decided to document the steps i took to deploy an ESX 3.5 host using the new version of EDA, v0.87.
The actual software versions i used are;
- VMware Workstation 6.5.2 build-156735
- EDA v0.87 Note: Not the patched version
- VMware ESX 3.5 Update 3 build-123630
There is quite a big difference in how the EDA v0.87 VM is created to how it was created using EDA v0.85, so I have documented my steps below.
This is not a step-by-step guide nor is this a Dummies guide; it just provides you with the settings I used and the solutions to problems i found when setting up my Test deployment environment.
Installing EDA v0.87 on a Workstation VM
When creating my EDA VM I took the Following steps.
- Open the Conversion Wizard in Workstation (File/Import or Export..)
- Source Type: Virtual Appliance
- Browse to your downloaded EDA-v0.87.ovf file
- Destination Type: Other Virtual Machine
- Type of virtual machine to create: VMware Workstation v6.5.x
- Disk Allocation: Allocate all disk space now for better performance
- Destination Network: Host-Only
When your configuration is complete Power On the VM. Once EDA is running you will be given an IP address to which you can point your browser to begin your ESX installation configuration.
I followed this Quick Setup Guide on how to configure my EDA.
There were a small problem I came across when testing, causing the installation of ESX 3.5 to fail. Read carefully through the information given below to make sure you don’t suffer from the same issue.
When changing your “General ESX host settings” make sure “/dev/sda” is selected otherwise you will receive and error on your ESX 3.5 host during install.


The next step is creating the VM for your ESX host.
Configuring a VMware Workstation VM to run ESX
Installing ESX on a VMware Workstation has been covered on many different blogs, when I was setting this up I used Duncan Epping’s Yellow-Bricks Blog article which seemed to work a treat. I have made a few changes from Duncan’s list for my own configuration and I have decided to include all the settings in this article to save people having to jump from page to page.
Here are the steps and settings I used.
- Create a Virtual Machine, Custom
- WS 6.5 Compatibility
- Linux OS, Red Hat Enterprise Linux 5
- Number of processors: 2
- Memory: 1024
- Host-Only Networking
- LSI Logic,
- New disc, SCSI
- 30GB, pre-allocated, single file
- Customise hardware, remove: soundcard, USB, floppy – Set execution mode to: IntelVT-x — Customise hardware, add: 5 x Network Adapter’s (Host-Only Networking)
- Edit .vmx and add the following
- ethernet0.virtualDev = “e1000”
- ethernet1.virtualDev = “e1000”
- ethernet2.virtualDev = “e1000”
- ethernet3.virtualDev = “e1000”
- ethernet4.virtualDev = “e1000”
- ethernet5.virtualDev = “e1000”
- monitor_control.restrict_backdoor = “true”
Now both your ESX and EDA VM’s are ready to roll!!
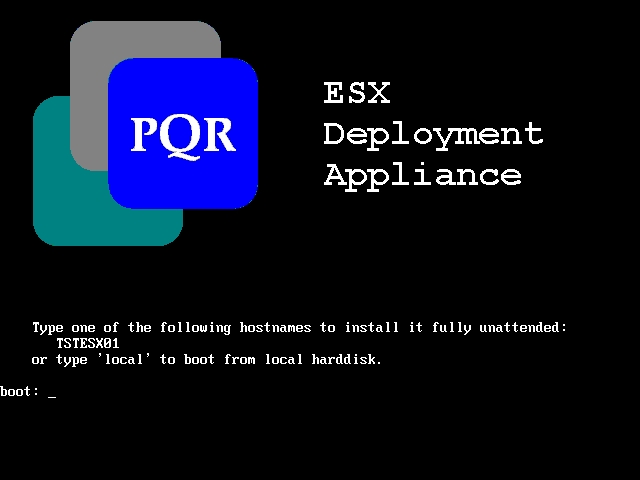
Boot your ESX VM making sure it boots from a Network Adapter, It will search for the PXE Boot server which is part of EDA. Once found you will be presented with the EDA deployment screen. Select which Host you want to install, ESX will now be deployed automatically for you.
Related Articles
Related Links
