Getting Started With Oracle Cloud VMware Solution (OCVS) – Deployment Overview

In the most recent ‘Getting started with Oracle Cloud VMware Solution (OVCS)’ post; Getting Started With Oracle Cloud VMware Solution (OCVS) – Deploying The SDDC With HCX we deployed ourselves a VMware vSphere Software-Defined Data Center (SDDC) along with VMware HCX into Oracle Cloud.

Posts in this series:

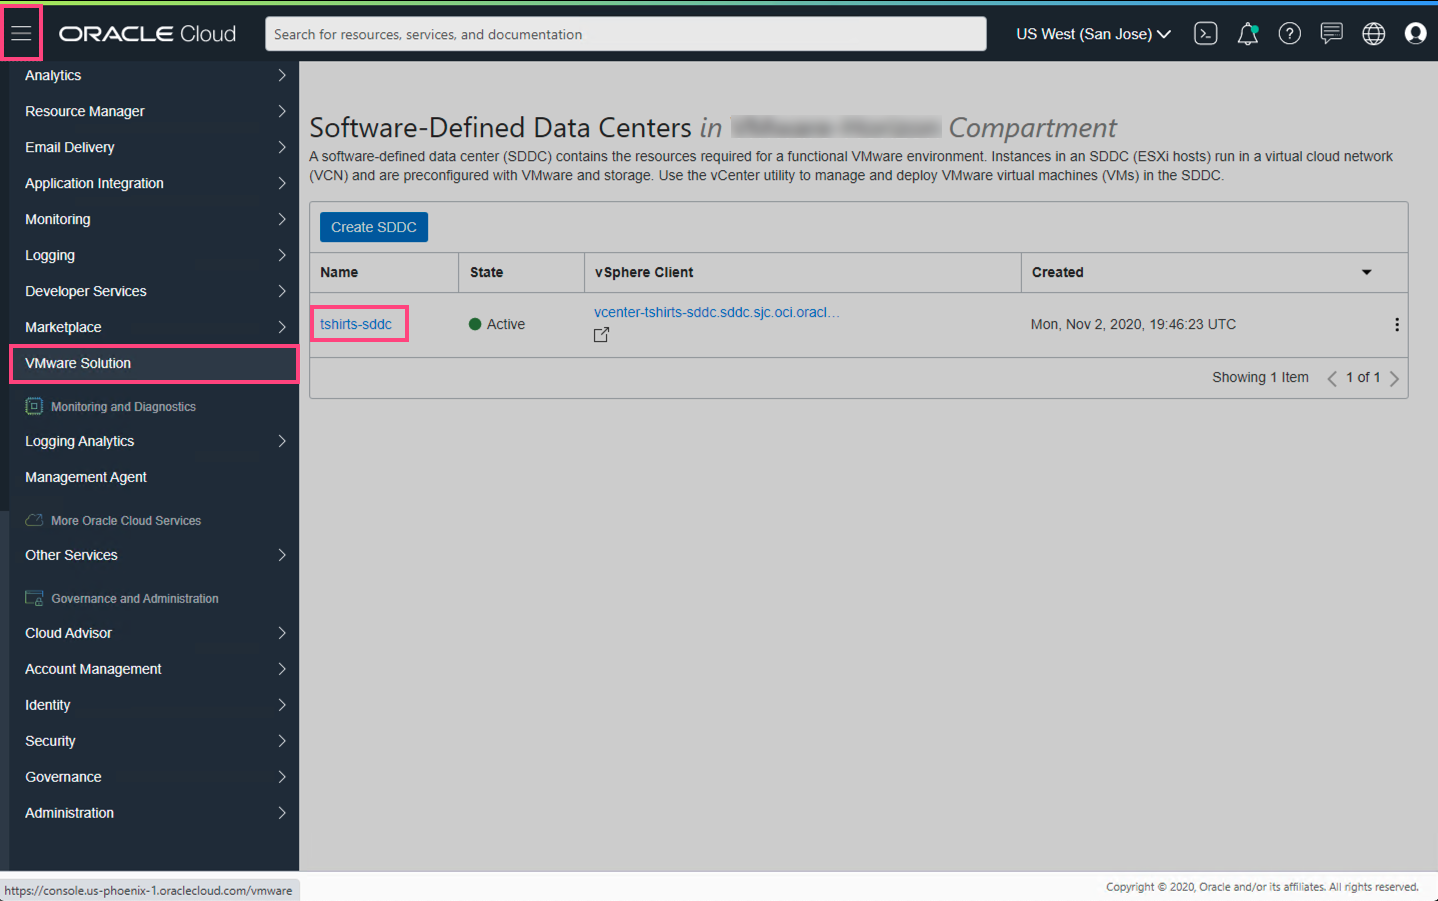
In this post, I’m going to do a high-level review of the SDDC deployment which includes the VMware vSphere components (vCenter, ESXi Hosts), NSX-T Manager, and VMware HCX. Subsequent posts will dive deeper into the configuration.

SDDC Deployment Overview

 
  1. Login to the OCVS console
  2. Select the correct Region, this should be the same region that the SDDC and Bastion host were deployed into
  3. Click on the burger icon at the top left of the screen to display the menu
  4. Scroll down on the left-hand side menu and select VMware Solution
    • Select the name of your newly deployed SDDC

We are now presented with the SDDC information. This page contains all of the important URLs, IP Addresses, Usernames, Passwords that you’ll need to access and manage your environment.

ESXi Hosts

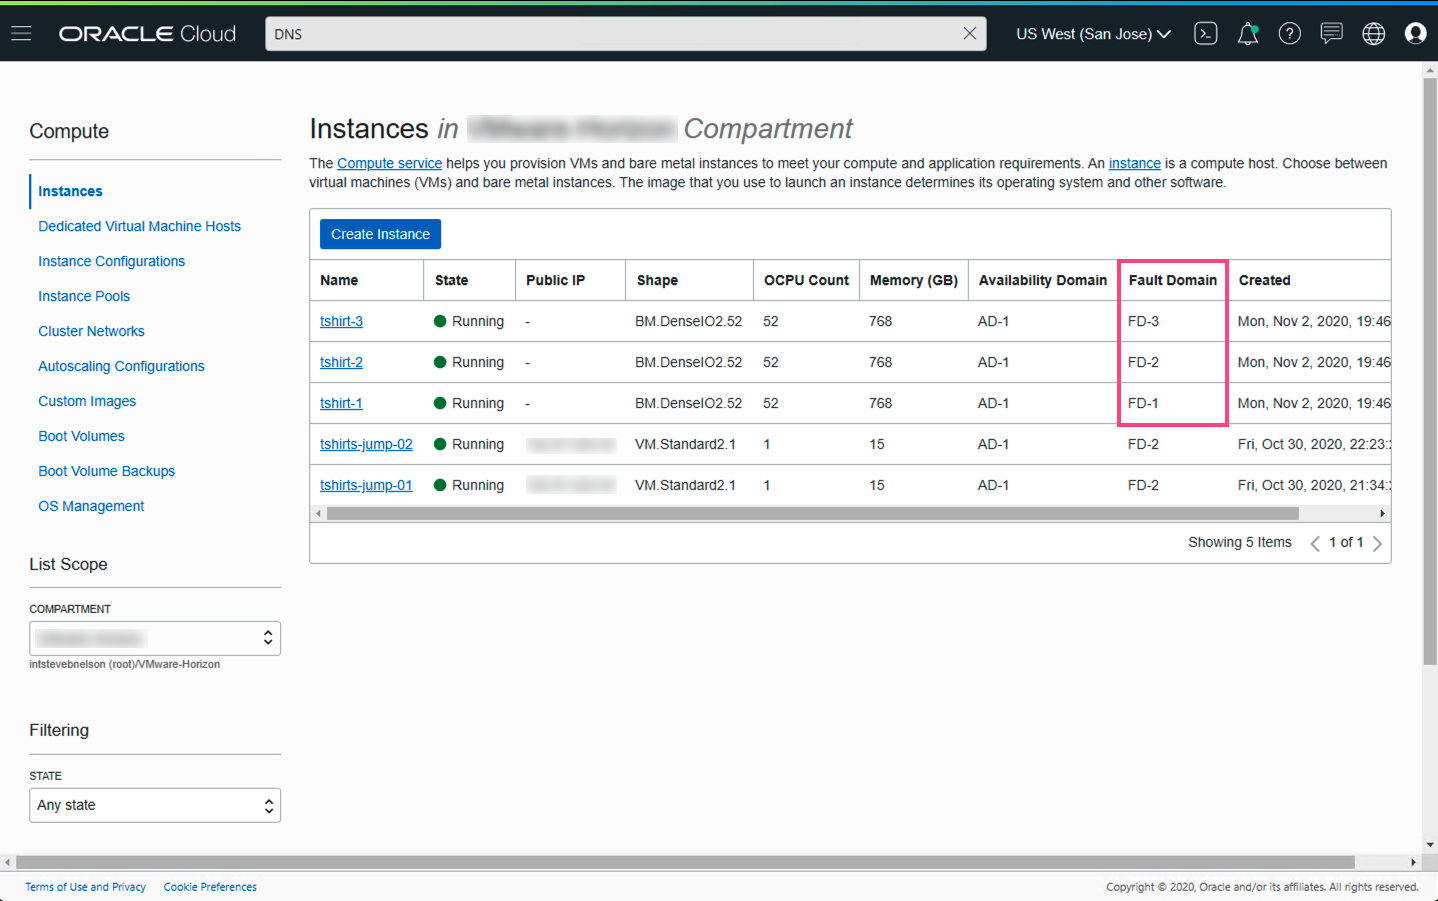
Scroll down to the ESXi Hosts section of the screen (bottom of the page), here we can see the three ESXi Hosts that have been deployed. This is also where we would add additional ESXi Hosts to our SDDC if required. Additional information about the ESXi Hosts can be found when we view our Compute Instances.

  1. Click on the burger icon at the top left of the screen to display the menu
  2. Scroll down on the left-hand side menu and select Compute > Instances (you may need to scroll up on the menu)


When we view our Compute Instances, one thing you will notice is that we can see both our ESXi Hosts that are deployed as part of our SDDC and our Bastion host (i.e. tshirts-jump-01) which is running on a native virtual machine, all in the same view. This is because the OCVS service is completely integrated within Oracle Cloud. This integration certainly makes management easier as everything is available in the same interface.

Something else to note here is the Fault Domain column. You’ll notice that each of our ESXi Hosts is deployed into a different Fault Domain within our Availability Domain. So for those of you who love to believe that rack failures happen, this should make you happy.

Each Oracle Cloud Region has at least one Availability Domain (all Regions with have 3 AD’s within a year of it becoming available). An Availability Domain is a physical data center within a geographical region. Availability Domains within the same region are connected to each other by a low latency, high bandwidth network. Each Availability Domain contains three Fault Domains. A Fault Domain is a grouping of hardware and infrastructure. Fault Domains provide anti-affinity, allowing the distribution of instances across Fault domains so that the instances are not on the same physical hardware within a single Availability Domain.

The diagram below illustrates our current SDDC deployment within the US East (Ashburn) Oracle Cloud Region. Here you can see, we are only using AD-1 and our ESXi Hosts are distributed across all three Fault Domains.

Accessing The Management Components

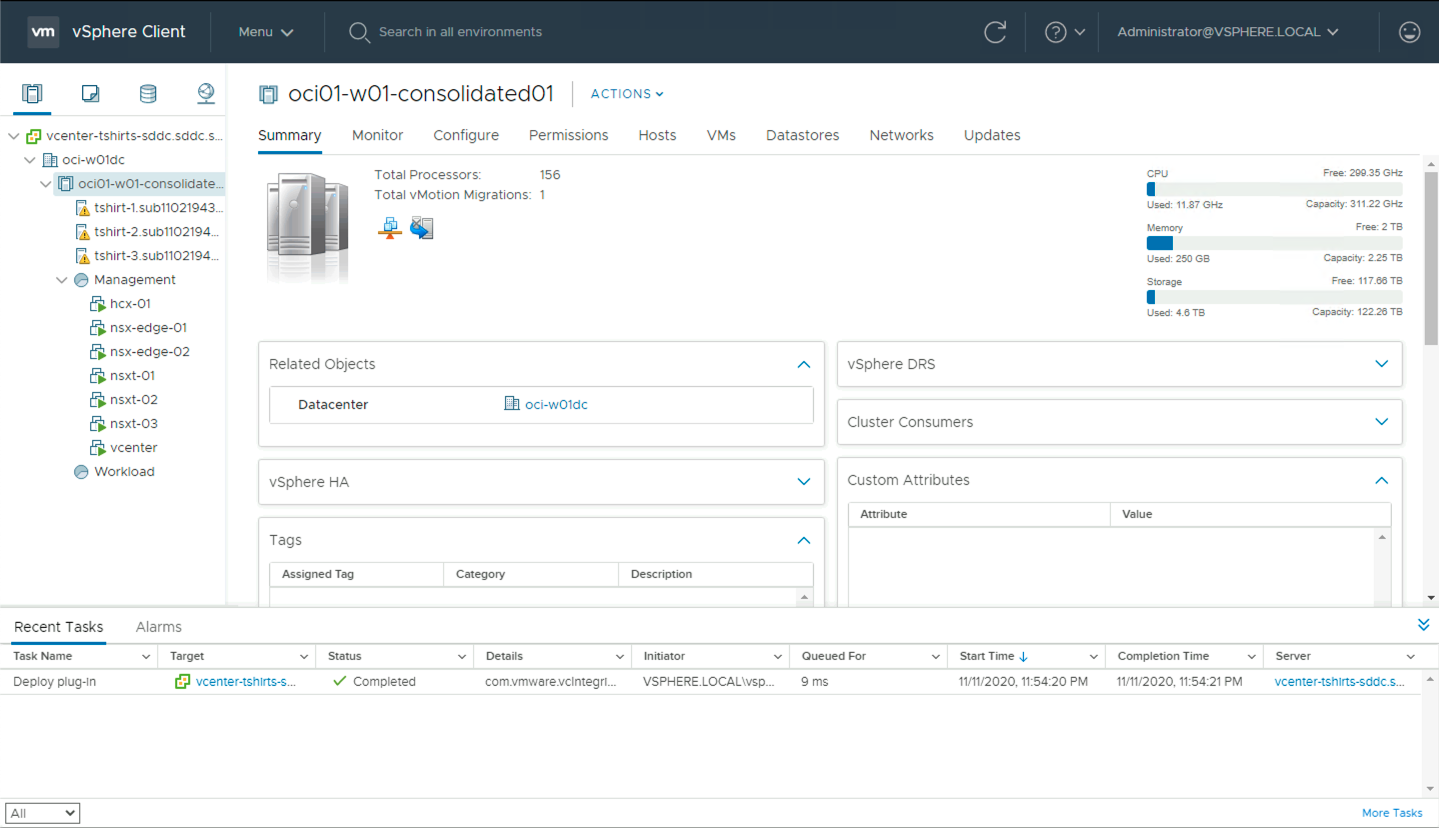
With the SDDC fully deployed, let’s make sure we can log into vCenter, NSX-T, and HCX.

vCenter Access

  1. Click on the burger icon at the top left of the screen to display the menu
  2. Scroll down on the left-hand side menu and select VMware Solution
    • Select the name of your newly deployed SDDC
    • In the SDDC Information section, Copy the vSphere Client URL
    • Open a browser window either on the Bastion host or on a machine that has access to the Bastion host via an SSL Tunnel
    • Paste the vSphere Client URL into a new browser tab
    • Copy/Paste the vCenter Initial Username and vCenter Initial password to log in to vCenter

NOTE: It’s worth noting here that you are logging in with the Administrator account. After the deployment of the environment, Oracle removes its own access and gives the customer FULL ACCESS to the whole vSphere environment. Oracle has ZERO ACCESS to SDDC after initial deployment. It’s completely private.


In the vCenter interface, the first thing we can see is our three ESXi Hosts and a handful of virtual machines. The virtual machines that are deployed for us are the following:
  • vcenter = vCenter Appliance
  • hcx01 = HCX Management Appliance
  • nsxt-01,02,03 = NSX-T Manager Appliances (Three are deployed for high availability)
  • nsx-edge-01,02 = NSX-T Edge Appliances (Two are deployed for high availability)


vSAN Datastore

  1. Click Menu in the vSphere client and select Storage from the dropdown menu
    1. Click Monitor
    2. Click VSAN > Capacity


Here we can see information about the vSAN Datastore that gets deployed as part of the SDDC environment. The size of the vSAN Datastore may vary in the future as Oracle introduces additional physical server shapes.

VMware HCX Access

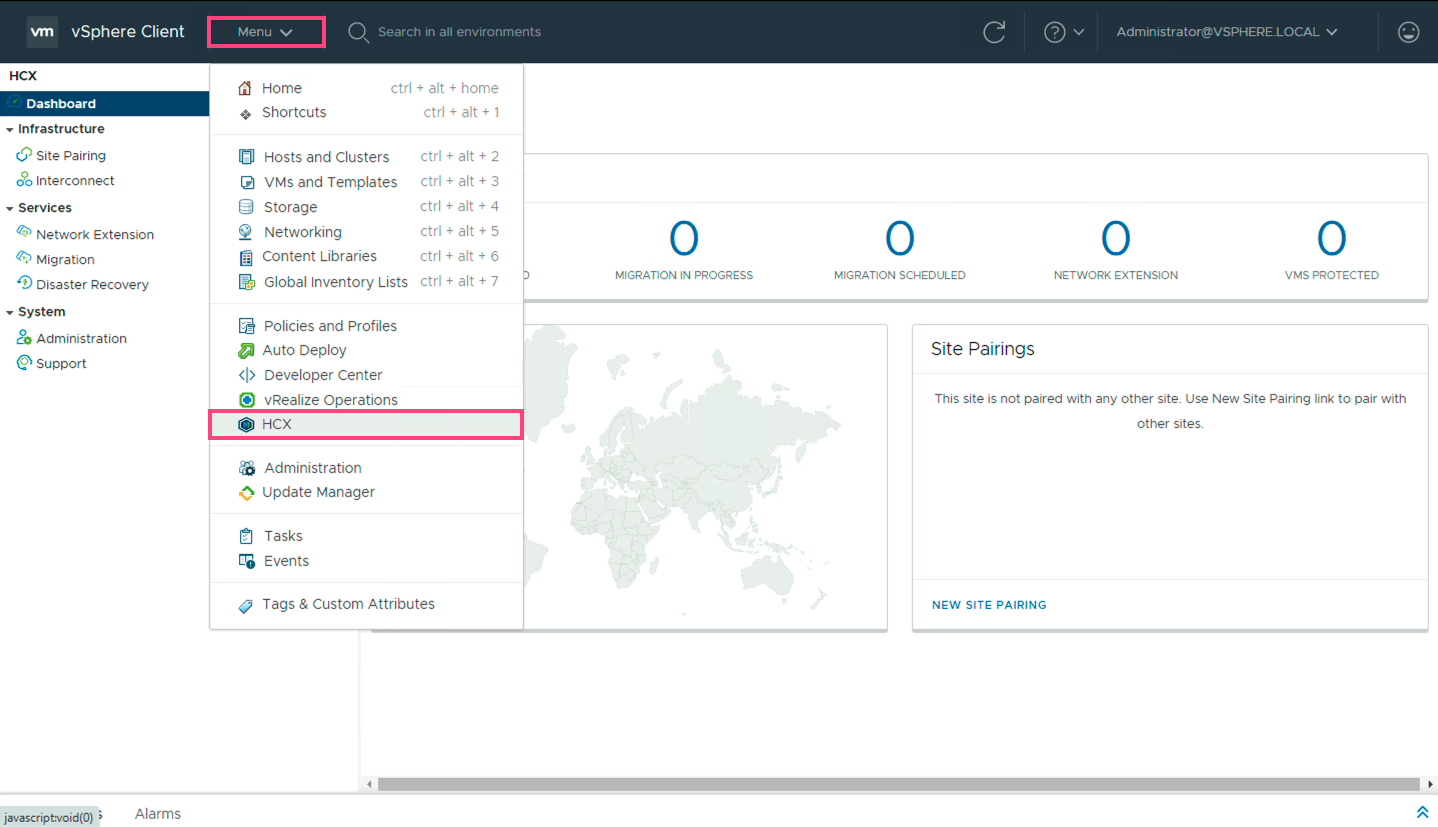
As part of the SDDC deployment, we opted to include the deployment of VMware HCX. HCX will be used to migrate workloads from our on-premises environment into our new SDDC.

  1. Click Menu in the vSphere client and select HCX from the dropdown menu


HCX is deployed, integrated into vCenter, and ready for a Site Pairing. We will cover the HCX configuration and migration of workloads in a future post as it requires a few additional changes to be made to the environment to connect an On-Premises vSphere environment to this newly deployed OCVS SDDC.

VMware NSX-T Access

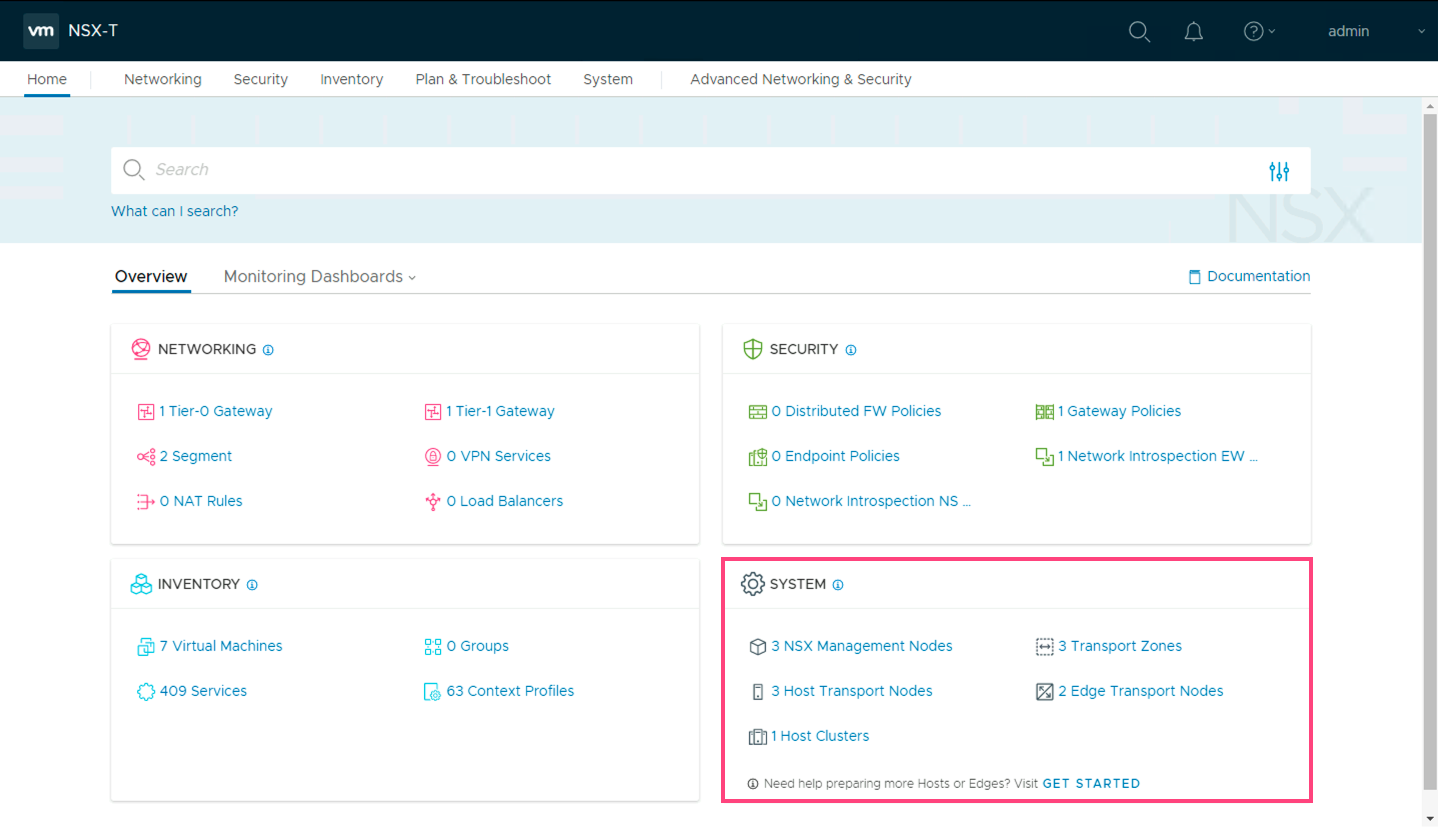
NSX-T is used at the core of the SDDC for virtual networking. We’ll cover the networking configuration in-depth in a future blog post. For the moment, let’s get logged in.

  1. In the Oracle Cloud Interface, click on the burger icon at the top left of the screen to display the menu
  2. Scroll down on the left-hand side menu and select VMware Solution
    • Select the name of your newly deployed SDDC
    • In the SDDC Information section, Copy the NSX Manager URL
    • Open a browser window either on the Bastion host or on a machine that has access to the Bastion host via an SSL Tunnel
      • Paste the NSX Manager URL into a new browser tab
      • Copy/Paste the NSX Manager Initial Username and NSX Manager password to log in to NSX-T Manager


At the bottom right of the Overview page, there is a section titled System. Here we can see the NSX-T components that are automatically deployed; 3 x NSX-T Manager Nodes (VMs nsxt-01,02,03), 2 x NSX-T Edge Transport Nodes (VMs nsx-edge-01,02), and our 3 ESXi Hosts have been enabled as Transport Nodes.

Networking Overview

Now that we have completed the overview of our OCVS SDDC, let’s move to the next blog post in this series; Getting Started With Oracle Cloud VMware Solution (OCVS) – Networking Configuration


Simon Long

Share
Published by
Simon Long

Recent Posts

Google Cloud VMware Engine @ VMworld 2021

Another VMworld is upon us!!! Sadly, it's only virtual again this year. However, that does…

3 years ago

Google Cloud VMware Engine – Learning Resources

As part of my recent move to Google, I'm working on quickly getting up to…

3 years ago

Hey Google!

I am delighted to announce the next chapter in my career. Today is my first…

3 years ago

EP13 – Defending Remotely

In episode thirteen of The VCDX Podcast, I am joined by two special guests who…

3 years ago

Getting Started With Oracle Cloud VMware Solution (OCVS) – Migrating Workloads Using VMware HCX

In my recent ‘Getting started with Oracle Cloud VMware Solution (OVCS)’ post; Getting Started With…

3 years ago

Getting Started With Oracle Cloud VMware Solution (OCVS) – Connecting To An On-Premises Environment

In my recent ‘Getting started with Oracle Cloud VMware Solution (OVCS)’ post; Getting Started With…

3 years ago